- Webflow
- SEO
SEO for Webflow Websites
Published:

SEO for Webflow websites
Table of Contents
Webflow is an excellent choice for a low code website builder. It has great flexibility and customisation options vs other low code solutions such as Wix, Squarespace and Elementor (Wordpress). It also offers several ways to optimise your website for SEO, to ensure that search engines can understand your content and rank your pages effectivly.
Technical SEO for your Webflow website
SEO is typically split into 3 main groups, technical, content and link building. This article will focus on the technical SEO component for optimising your Webflow website.
Meta data
Writing your meta titles and descriptions is an important first step for optimising your Webflow website. This is the information that is displayed in your organic listing and is what a user will first read to determine if they want to click through to your site. As a general rule of thumb:
- Your title should include the term you are trying to rank for.
- Your description should provide additional information about the page content and be 150-160 characters long.
- The information should be as relevant as possible to the page content.
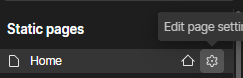
You can edit meta data in the settings for each page. This is accessed using the gear icon in the page navigation.
When using a CMS collection (in a blog for example), you will need to create a plain text custom field in the collection schema and define the meta description in each collection item.

You can then use this as a variable in the template page for this collection.

Open Graph
Open graph settings are previews that are displayed when pages are shared on various sites, such as Facebook, Linkedin, X.
For most scenarios, using the same title and description as your meta titles and descriptions is the way to go. You will also need to add in an image to be used for the open graph image. Ideally these are 1200 x 630px in size. You can upload this image to your Webflow image directory and then copy the URL into the Open Graph Image URL field.

Sitemap & Indexing
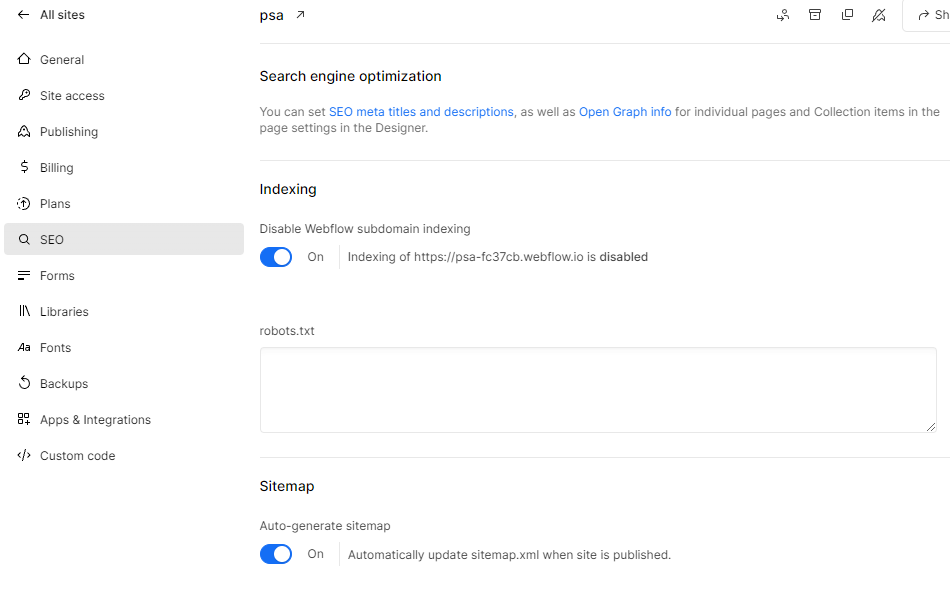
Having a sitemap and correctly indexing pages will help search engines to discover your content faster. You will need to enable this in your global Webflow settings. Once you’ve added a custom domain to your Webflow account , complete the following steps.
- Disable Webflow sub domain indexing. This prevents your webflow.io staging site from being indexed.
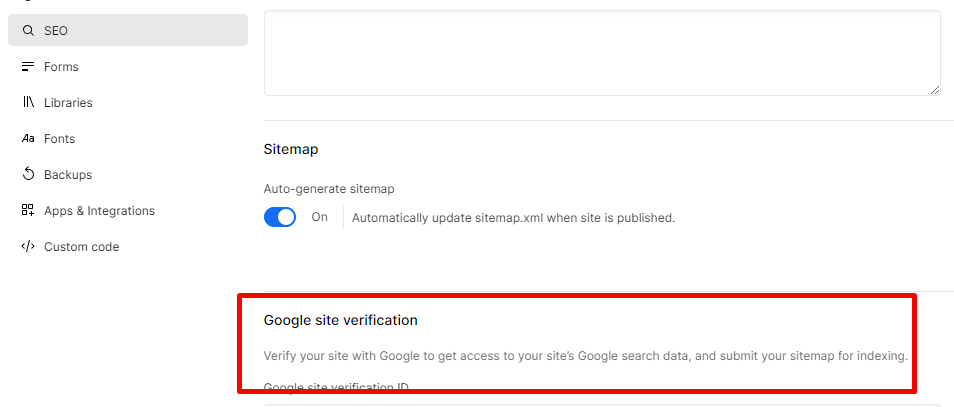
- Turn on Auto-generate sitemap
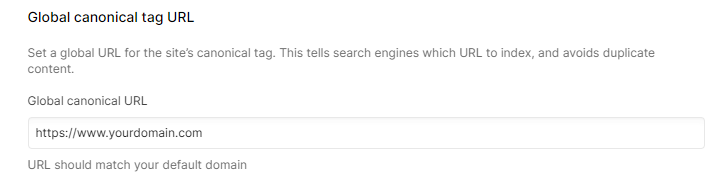
- Add a global canonical, this should match your primary domain, likely www.YOURDOMAIN.com
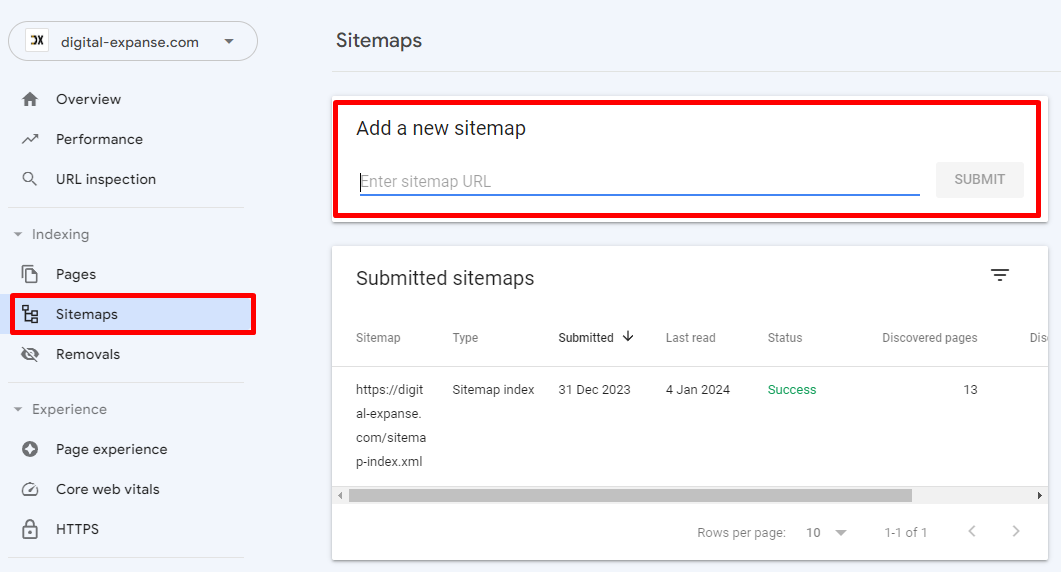
Add your sitemap to Google Search Console
If you haven’t completed this step already, you should add your sitemap to Google Search Console. Your sitemap is generated at https://YOURDOMAIN.com/sitemap.xml
If this is the first time you are setting up Google Search Console, you will need to add a verification key to your website. This can be done in the SEO section of your general settings.
You can complete the same process on Bing Webmaster, for search insights from Microsoft’s search engine.
Remove low quality pages from sitemap
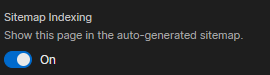
This is done at an individual page level under page settings (where we changed the meta titles). If a page is not intended to be ranked on Google for example, a thank you page, then you can remove this from the auto-generated sitemap.
No index low quality pages
Even with pages removed from the sitemap, search engine crawlers can still discover these pages. Add the following no index tag in the <head> of your page (under page settings).
<meta name="robots" content="noindex">Schema
Website schema helps search engines to understand your business, website structure and content on specific pages. Again, this is completed on an individual page basis and is the most manual part of the optimisation. You can use schema generator tools to help with this process.
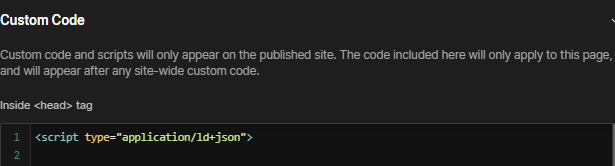
These tools will generate the JSON markup, that can then be pasted into your page <head> section (again in page settings).
There are several different types of schema and different markups are required for different types of pages. We won’t go into full detail here, however here are some examples of schema to add.
Breadcrumb schema
This should be added to all pages as it shows were a page sits in the hierarchy of your site. This helps search engines understand your site structure and is important for organic sitelinks.
Example
<script type="application/ld+json">
    {
      "@context": "https://schema.org",
      "@type": "BreadcrumbList",
      "itemListElement": [{
        "@type": "ListItem",
        "position": 1,
        "name": "Books",
        "item": "https://example.com/books"
      },{
        "@type": "ListItem",
        "position": 2,
        "name": "Science Fiction",
        "item": "https://example.com/books/sciencefiction"
      },{
        "@type": "ListItem",
        "position": 3,
        "name": "Award Winners"
      }]
    }
    </script>
Organisation schema
This should be added to your home page and/or your about page. This does not need to be included on every page of your site. There are many different parameters that you can add to this Schema, you can read the organsiation schema documentation for a full list.
Example
<script type="application/ld+json">
    {
      "@context": "https://schema.org",
      "@type": "Organization",
      "image": "https://www.example.com/example_image.jpg",
      "url": "https://www.example.com",
      "sameAs": ["https://example.net/profile/example1234", "https://example.org/example1234"], // These are your social profiles
      "logo": "https://www.example.com/images/logo.png",
      "name": "Example Corporation",
      "description": "The example corporation is well-known for producing high-quality widgets",
      "email": "contact@example.com",
      "telephone": "+47-99-999-9999",
      "address": {
        "@type": "PostalAddress",
        "streetAddress": "Rue Improbable 99",
        "addressLocality": "Paris",
        "addressCountry": "FR",
        "addressRegion": "Ile-de-France",
        "postalCode": "75001"
      },
      "vatID": "FR12345678901",
      "iso6523Code": "0199:724500PMK2A2M1SQQ228"
    }
    </script>
Article schema
This is best added to blog/news pages and provides information about the type and title of the article.
Example
<script type="application/ld+json">
    {
      "@context": "https://schema.org",
      "@type": "NewsArticle",
      "headline": "Title of a News Article",
      "image": [
        "https://example.com/photos/1x1/photo.jpg",
       ],
      "datePublished": "2015-02-05T08:00:00+08:00",
      "dateModified": "2015-02-05T09:20:00+08:00",
      "author": [{
          "@type": "Person",
          "name": "Jane Doe",
          "url": "https://example.com/profile/janedoe123"
        }]
    }
    </script>
Validate your schema
Once you have added schema to your website, you can use a schema validator to ensure that it is formatted correctly.
Headline structure
We won’t go into too much detail here but as a general rule of thumb:
- Your H1 should include your target keyword
- Don’t include more than one H1 on your page
- Headlines should be used in order, don’t skip eg from H1 → H3
- Use headline numbers as a hierarchy, where higher numbers are content categories and lower numbers are sub categories. Taking this blog as an example
/*partial example*/
- H1: SEO for Webflow websites
    - H2: Technical SEO for your Webflow Website
        - H3: Meta data
        - H3: Sitemap & Indexing
            - H4: Add your sitemap to Google Search Console
        - H3: Schema
            - H4: Breadcrumb Schema
Image optimisation
Webflow makes optimising your images easy:
- You can bulk compress your images to .webp format which will improve your load times (an important ranking factor)
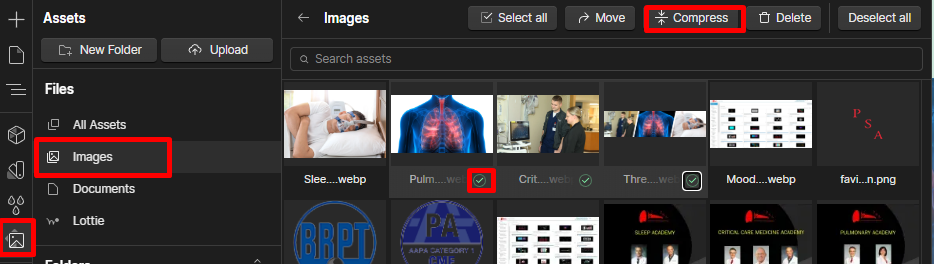
- Webflow will highlight when alt text is missing from your images. You can add in image alt texts in the media library(by selecting settings for each image).
301 redirects
If you are migrating from another platform, for example Wordpress, it is important to map your old url structure to your new site structure using 301 redirects. This can be done in your site settings -> publishing.
You don’t need to re-direct every url individually, and can re-direct folder structures using wildcard card selectors. The below example shows a simple redirect with a 1:1 mapping and a more complex re-direct with a many:many mapping.
The many to many mapping will redirect all pages in the “tour-item” folder to the “tours” folder. The important things to note here are:
- Escaping the ”-” character in the “tour-item” using %
- Using the wildcard to capture the dynamic part of the url path (.*).
- Using %1 to use this dynamic capture group in the new url.
